How to Grow Freesias in a Pot: Beauty and an Unmistakable Scent at Home
Freesias are among the most fragrant and charming flowers you can grow in containers — whether as an elegant houseplant or as a scented decoration for your summer terrace or balcony. Their characteristic sweet fragrance and vivid range of pastel and rich colors bring wonderful freshness to any space.
Growing freesias from corms (bulbs) isn't complicated, but it does require following a few specific rules. So how exactly do you get them to reward you with abundant blooms?
How to Plant Freesias, and What Conditions Do They Need?
A tip from Monika (co-owner of KvětinyExpres.cz and a lover of garden work): "I absolutely love potted freesias on my summer terrace, that scent in the evenings is indescribable. But I have to admit to one beginner's mistake — my first batch of corms rotted completely. I'd planted them in a regular all-purpose substrate and overwatered them. Now I know freesias can't stand 'wet feet.' So I always put a generous layer of expanded clay at the bottom of the pot and mix plenty of sand into the substrate. I water more often, but in very small amounts. It's a bit of an art, but the result is one hundred percent worth it!"
The foundation of success is the right timing and the right environment:
-
Planting season: For outdoor growing, plant corms in spring (March–April). If you want to grow them purely as houseplants, you can plant as early as January or February.
-
Light: They love a bright spot. On a balcony, though, protect them from direct, harsh midday sun, which could scorch their delicate leaves.
-
Temperature: They do best with daytime temperatures around 15–20°C, with a mild natural drop at night.
-
Watering and soil: As Monika advises, a light, excellently draining substrate is essential. Keep it slightly moist, but never wet. Let the top layer of soil dry out a little between waterings.

Planting Freesias Step by Step
-
Choosing a container: Pick a sufficiently large pot (at least 15 cm deep) with drainage holes in the bottom.
-
Drainage: Pour a layer of expanded clay, small pebbles, or gravel into the bottom. This prevents the roots from rotting.
-
Planting: Plant the corms tip-up, at a depth of roughly 5–7 cm. Leave about 5 cm of space between individual corms so they have room to grow.
-
Watering in: Plant, gently cover with soil, and water only very lightly.
-
Placement: Put the pot in a bright but rather cool spot (around 15°C) until the first shoots emerge. After that, you can move it to a warmer room.
Don't Feel Like Waiting 3 Months for Blooms?
Growing freesias is a wonderful hobby, but it requires patience. From planting the corm to the first bloom typically takes 10 to 12 weeks.
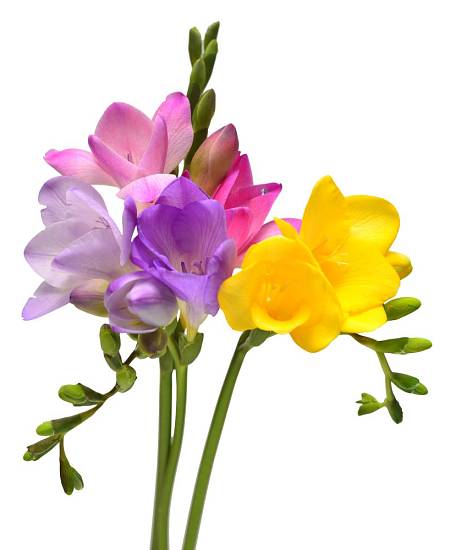
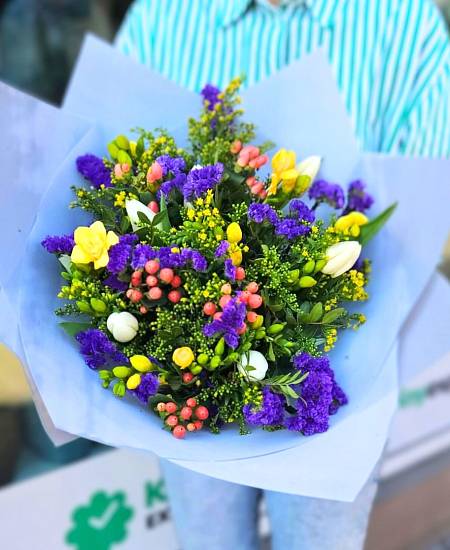
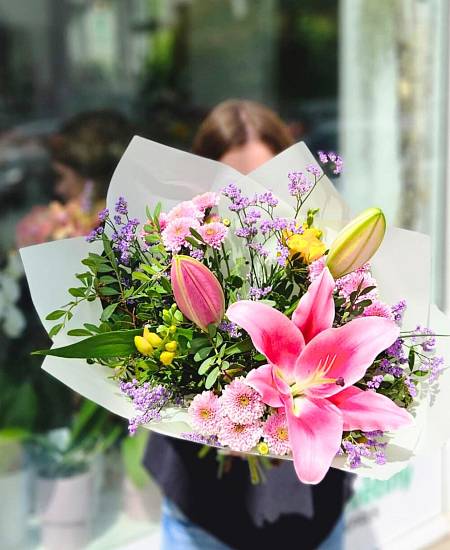
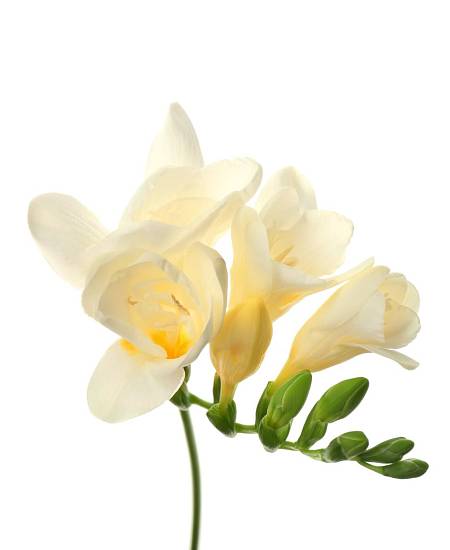
If you love their scent but want to treat yourself or a loved one right away, take a look at our fresh cut freesias. They're among our most popular bouquets — we source them in the highest A1 quality and deliver them express, standing in water, so your home fills with their scent immediately.
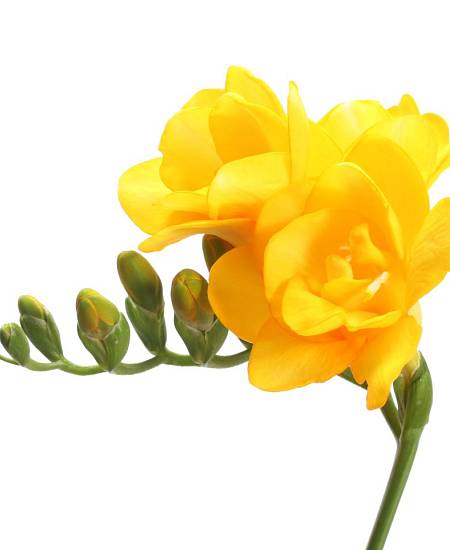
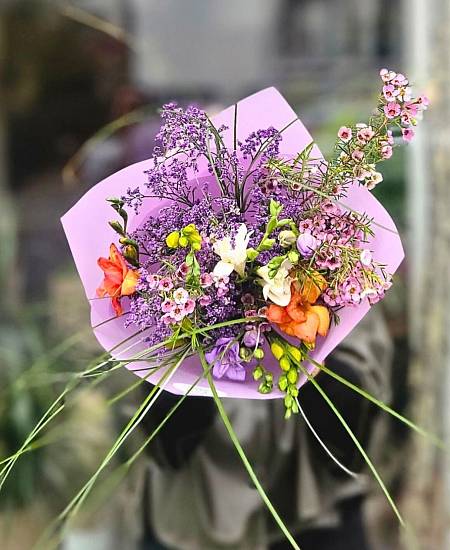
Looking for already-grown plants for your balcony or terrace instead? Unfortunately, we don't ship potted freesias on their own, since their delicate stems are very prone to breaking during transport. But you can choose from our wide range of other sturdy outdoor plants, which we'll deliver safely and in perfect condition.
Preventing Diseases and Pests
Even when growing at home, you may run into uninvited guests. How do you protect against them?
-
Corm rot: The most common problem. The solution is perfect drainage and moderate watering (don't overwater!).
-
Aphids and mites: Check your plants carefully. If infested, use a gentle spray of insecticidal soap or natural oils (e.g. neem oil).
-
Mold and powdery mildew: Ensure good air circulation, and try not to get water on the leaves and flowers when watering.
What to Do After It Finishes Blooming? (Overwintering)
Definitely don't throw out your freesias once they finish blooming! Once the flowers fade and the leaves start naturally turning yellow and drying out, cut back on watering. Let the plant dry out completely (this way the corm pulls important nutrients back into its reserves). Then remove the dry corms from the soil, clean them, and store them in a dry, dark place (ideally at a temperature above 20°C) to rest, so they're ready for the next season.
Frequently asked questions about growing freesias in a pot
When should I plant freesias?
For outdoor growing, plant the bulbs in spring (March–April). If you want to grow them purely as houseplants, you can plant as early as January or February.
What pot and how deep should I plant freesias?
Choose a pot at least 15 cm deep with drainage holes and fill the bottom with a layer of expanded clay or small stones. Plant the bulbs (corms) pointed end up, about 5–7 cm deep, spaced about 5 cm apart.
How do I water freesias in a pot?
The substrate should be light and extremely well drained, slightly moist, never wet. Let the top layer of soil dry out slightly between waterings. Freesias do not tolerate "wet feet".
How long until freesias bloom?
From planting the corm to the first flower usually takes 10 to 12 weeks.
Why are my freesia bulbs rotting?
Bulb rot is the most common problem. The solution is perfect drainage and moderate watering. Florist Monika's first batch rotted precisely because she planted it in ordinary universal substrate and overwatered it.
What should I do with freesias after flowering?
Do not throw them away. Once the flowers fade and the leaves start to turn yellow and dry, reduce watering and let the plant dry out completely. Then remove the dry corms from the soil, clean them and store them in a dry, dark place (ideally at a temperature above 20°C) to rest.
Do you sell potted freesias?
We do not ship potted freesias on their own because their fragile stems are prone to breaking in transit. But we offer fresh cut freesias in A1 quality, delivered express straight in water (for example Mixed Color Cut Freesias, Fragrant freesias or White Freesia), or other hardy outdoor plants.
The KvětinyExpres.cz team
